7 Best Arterial Line Kits for Hospitals in 2026
Selecting an arterial line kit is not just a purchasing decision. It affects setup, workflow, and the availability of components when clinicians need them. A clearly arranged tray, secure sterile packaging, and compatible accessories can make preparation easier. Small details matter.
“Best” depends on the hospital. A kit that suits a high-volume intensive care unit may not fit a smaller department’s workflow or supply plan. Clinicians and procurement teams should assess product specifications, instructions for use, compatibility with existing equipment, and applicable hospital protocols. They should also consider how easily staff can identify and handle each component. A crowded tray can slow a familiar task; an unfamiliar layout may require practice. Not every difference is obvious from a product photo.
This guide reviews seven arterial line kit options for hospitals in 2026, focusing on practical selection factors rather than assuming one product suits every setting. Kit contents, packaging, and available configurations can vary, so buyers should verify current details with manufacturers and distributors. Clinical teams should review each option against their needs and established procedures before making a decision. The comparisons can help narrow the field, but they cannot replace local evaluation. There is no perfect kit—only a better fit for a particular team, patient population, and workflow.
Arterial Line Kits Explained: Components, Uses, and Clinical Applications
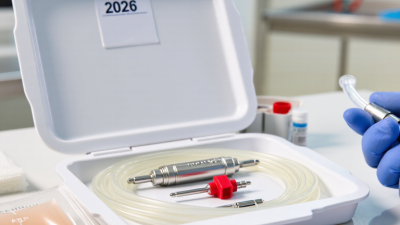
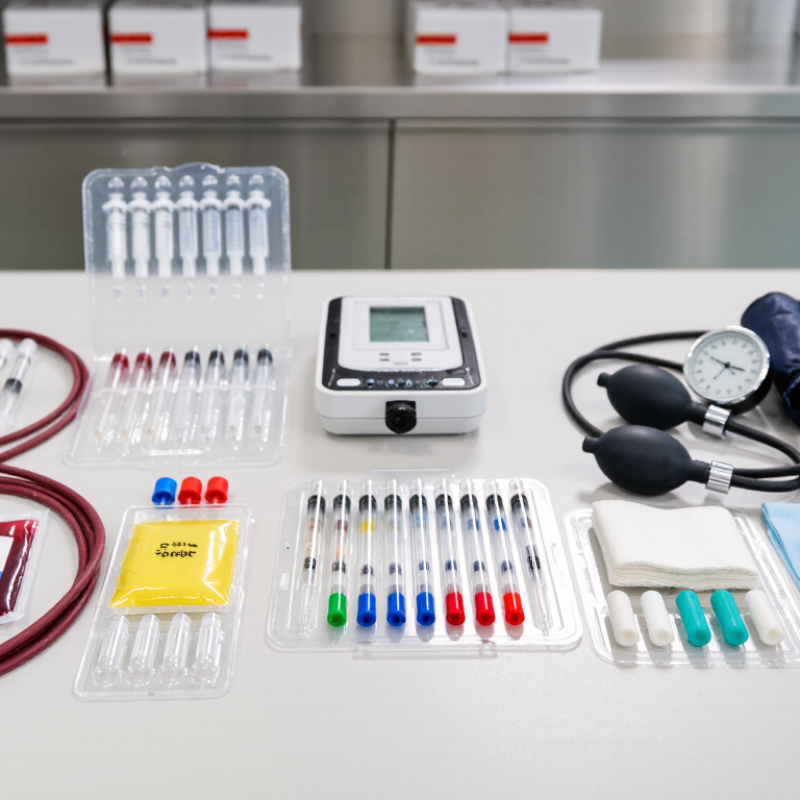
An arterial line kit brings key supplies together for placing an arterial catheter and connecting it to a monitoring system. Depending on the kit, components may include a catheter, guidewire, introducer needle, syringe, sterile drape, and pressure tubing. A transducer and flush system may be packaged separately, so clinicians should check the contents before setup. Small details matter.
In practice, arterial lines provide continuous blood pressure readings and access for repeated blood sampling. They are commonly used in operating rooms and intensive care, especially when a patient’s condition requires close hemodynamic monitoring. A clear waveform is useful, but it is not enough by itself: the transducer must be correctly leveled and zeroed, and the insertion site and distal circulation need regular assessment. Cold fingers or a dampened waveform deserve attention.
Kit selection depends on the patient, insertion site, and clinical setting. A radial artery catheter is common, while other sites may be considered by trained clinicians when circumstances require them. Components and connection designs vary, and a familiar-looking tray can still have different contents. That is an easy detail to overlook. Follow local protocols, maintain sterile technique, and verify compatibility with the monitoring setup before use.
How to Compare Seven Hospital Kits: Catheters, Transducers, and Setup
Comparing seven arterial line kits means checking the whole setup, not just the catheter. Match catheter gauge and length to the intended patient population and insertion site; then inspect the transducer’s stated accuracy, connector fit, and compatibility with the monitor. A kit may include pressure tubing, a flush device, stopcocks, and a sterile drape, but included components vary. Lay them out on a clean work surface and check whether staff can identify each connection quickly. Small details matter.
The World Health Organization’s 2022 global report estimates that at least one healthcare-associated infection affects 7 in 100 patients in high-income countries and 15 in 100 in low- and middle-income countries. These figures are not specific to arterial lines, but they underline why sterile packaging and a clear setup workflow deserve attention. Compare package integrity, labeling, and instructions alongside price. No kit makes setup foolproof. Staff feedback can reveal confusing connections that a specification sheet misses.
Tips: Before selecting a kit, have clinicians compare the tubing length and stopcock layout against their usual bedside workflow. Check every component against local protocols, and confirm monitor compatibility. Record what feels awkward. That feedback is useful, even when it complicates the comparison.
Selection Standards: Sterility, Compatibility, and ISO 10555-1
When comparing arterial line kits, sterility is more than a label. Check the sterile-barrier packaging for tears, moisture, or a broken seal, and confirm the lot and expiry details are legible. Small defects matter. A clean-looking tray does not prove that its contents remain sterile. Staff should follow the hospital’s handling and discard procedures after opening.
Compatibility deserves a hands-on review before purchasing. Match the catheter, guidewire, introducer needle, pressure tubing, and connectors to the intended procedure and monitoring setup. Check dimensions and connection types against the devices already in use. Nothing should need forcing. A kit may appear complete yet still leave a gap in a local workflow; that is easy to miss on a product list.
ISO 10555-1 addresses general requirements for intravascular catheters, not automatic approval of every component in a complete kit. Ask suppliers for documentation showing which catheter parts fall within the standard’s scope, and verify the edition and test evidence. Procurement teams should also review instructions for use and traceability records. Paperwork can be tidy while practical fit remains uncertain, so clinical staff should evaluate representative kits before routine adoption.
Pressure Monitoring Essentials: 300 mmHg Bags and Typical 3 mL/h Flush Rates
For arterial pressure monitoring, a 300 mmHg pressure bag helps maintain a steady flush through the line. The pressure should be checked on the bag’s gauge, not judged by appearance. Many adult transducer sets use a restrictor designed for a nominal flush rate near 3 mL/h. Actual performance can vary with the device and setup. Small details matter.
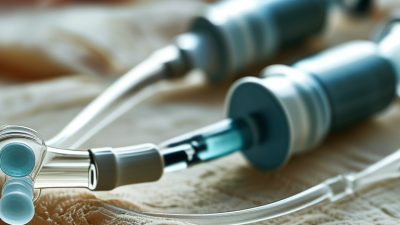
A practical kit should keep the pressure bag, flush solution, tubing, and transducer easy to inspect. After assembly, clinicians typically remove air, level the transducer to the reference point, and zero it according to facility procedure. A kinked tube or loose connection can affect the waveform. So can incorrect leveling. These checks are routine, but they are easy to rush during a busy handoff.
The 300 mmHg setting and typical 3 mL/h rate are not universal targets for every patient or device. Pediatric and specialty setups may require different equipment and procedures. Confirm the kit’s instructions and local protocol before use, and reassess the waveform if it looks damped or unexpectedly sharp. Not every setup matches. One limitation is that a correct pressure reading alone cannot prove the entire line is functioning properly.
Arterial Pressure Monitoring: Representative Waveform & Setup Essentials (2026)
Illustrative arterial pressure waveform for a typical adult monitoring setup.
Pressure bag: 300 mmHg
Typical continuous flush: approximately 3 mL/h
The representative waveform shows pressures of approximately 80–120 mmHg over one 0.8-second cardiac cycle. Values are illustrative, not device-performance data; follow the device instructions and local clinical protocols.